
CLEANING YOUR AR15
WARNING:
Before handling ANY firearm, ALWAYS follow the first three rules of gun safety:
1) Never point a firearm at anything you are not willing to destroy
2) Keep your finger off the trigger until you’re ready to shoot
3) Do not load the firearm until you are ready to shoot
*Remove the magazine and ammunition from the firearm and keep them in a separate location during the takedown process
Visually and physically inspect that the firearm is unloaded by looking into the chamber and touching the breach face with your finger or a plastic punch.
-

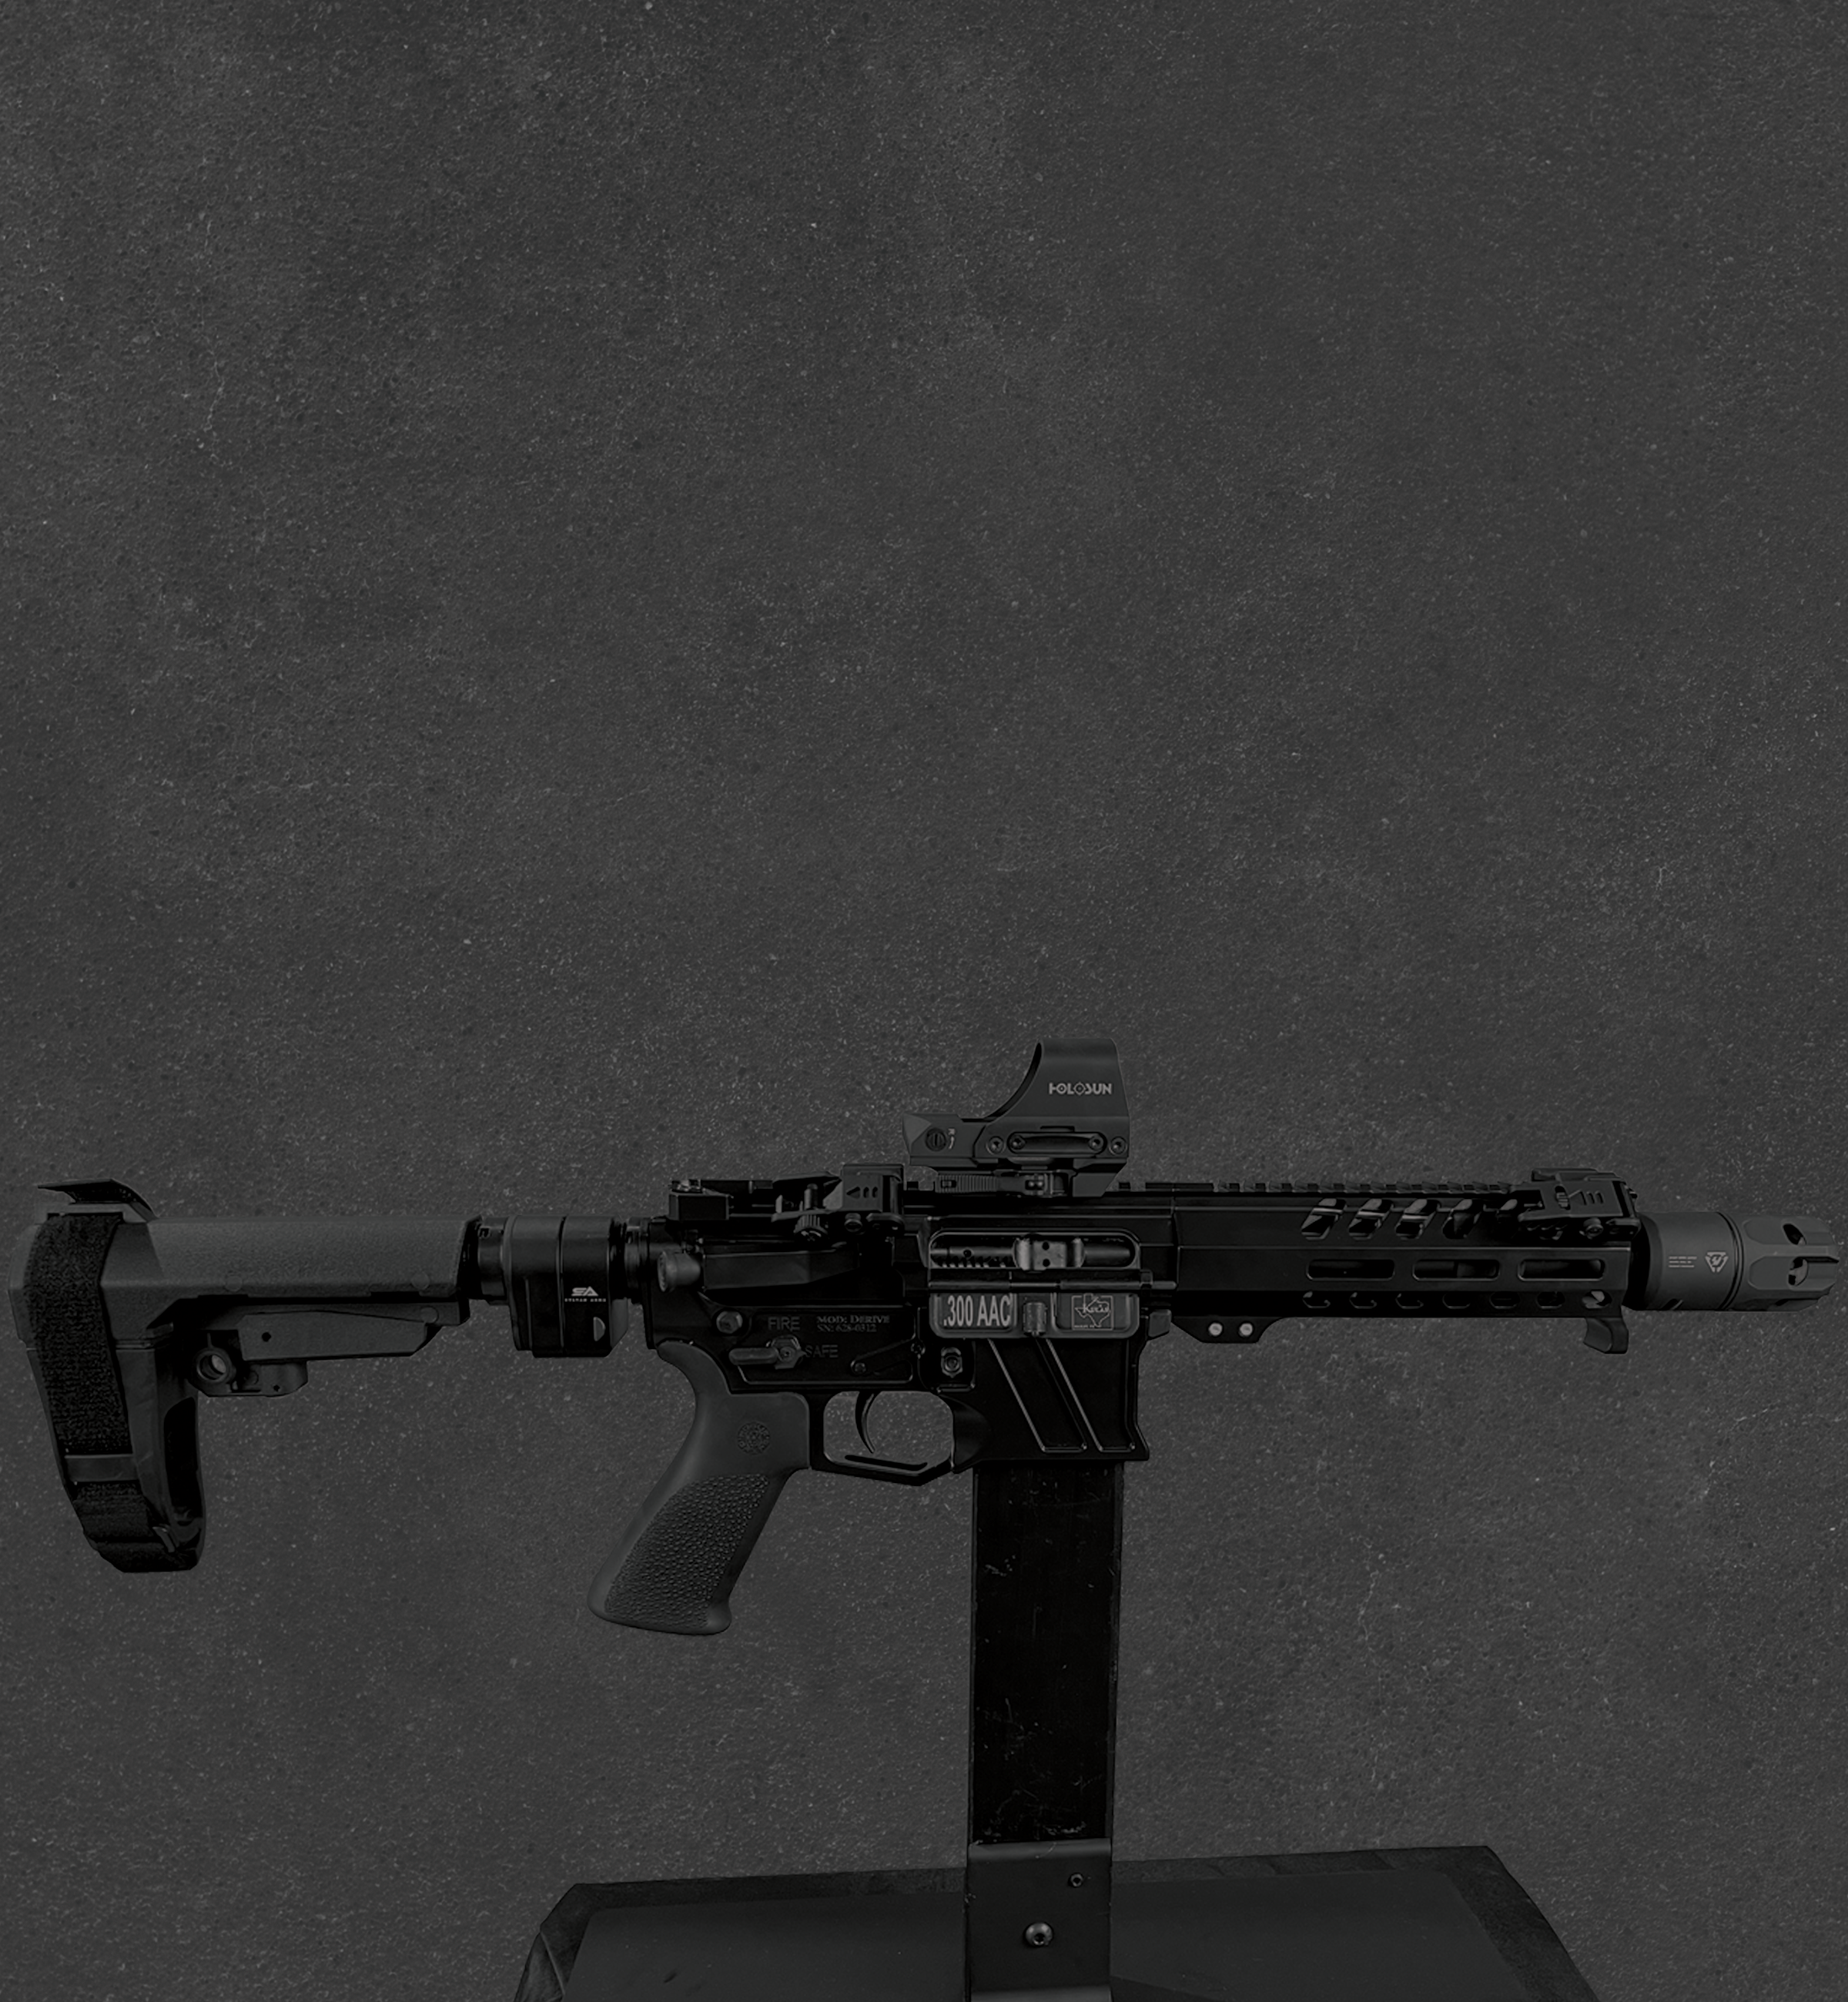
ar15 cleaning tools
After you’ve cleared your Firearm, removed all ammo from the cleaning area, and prep
ed your cleaning area, lay out your cleaning mat and assemble your cleaning tools. -

STEP 1:
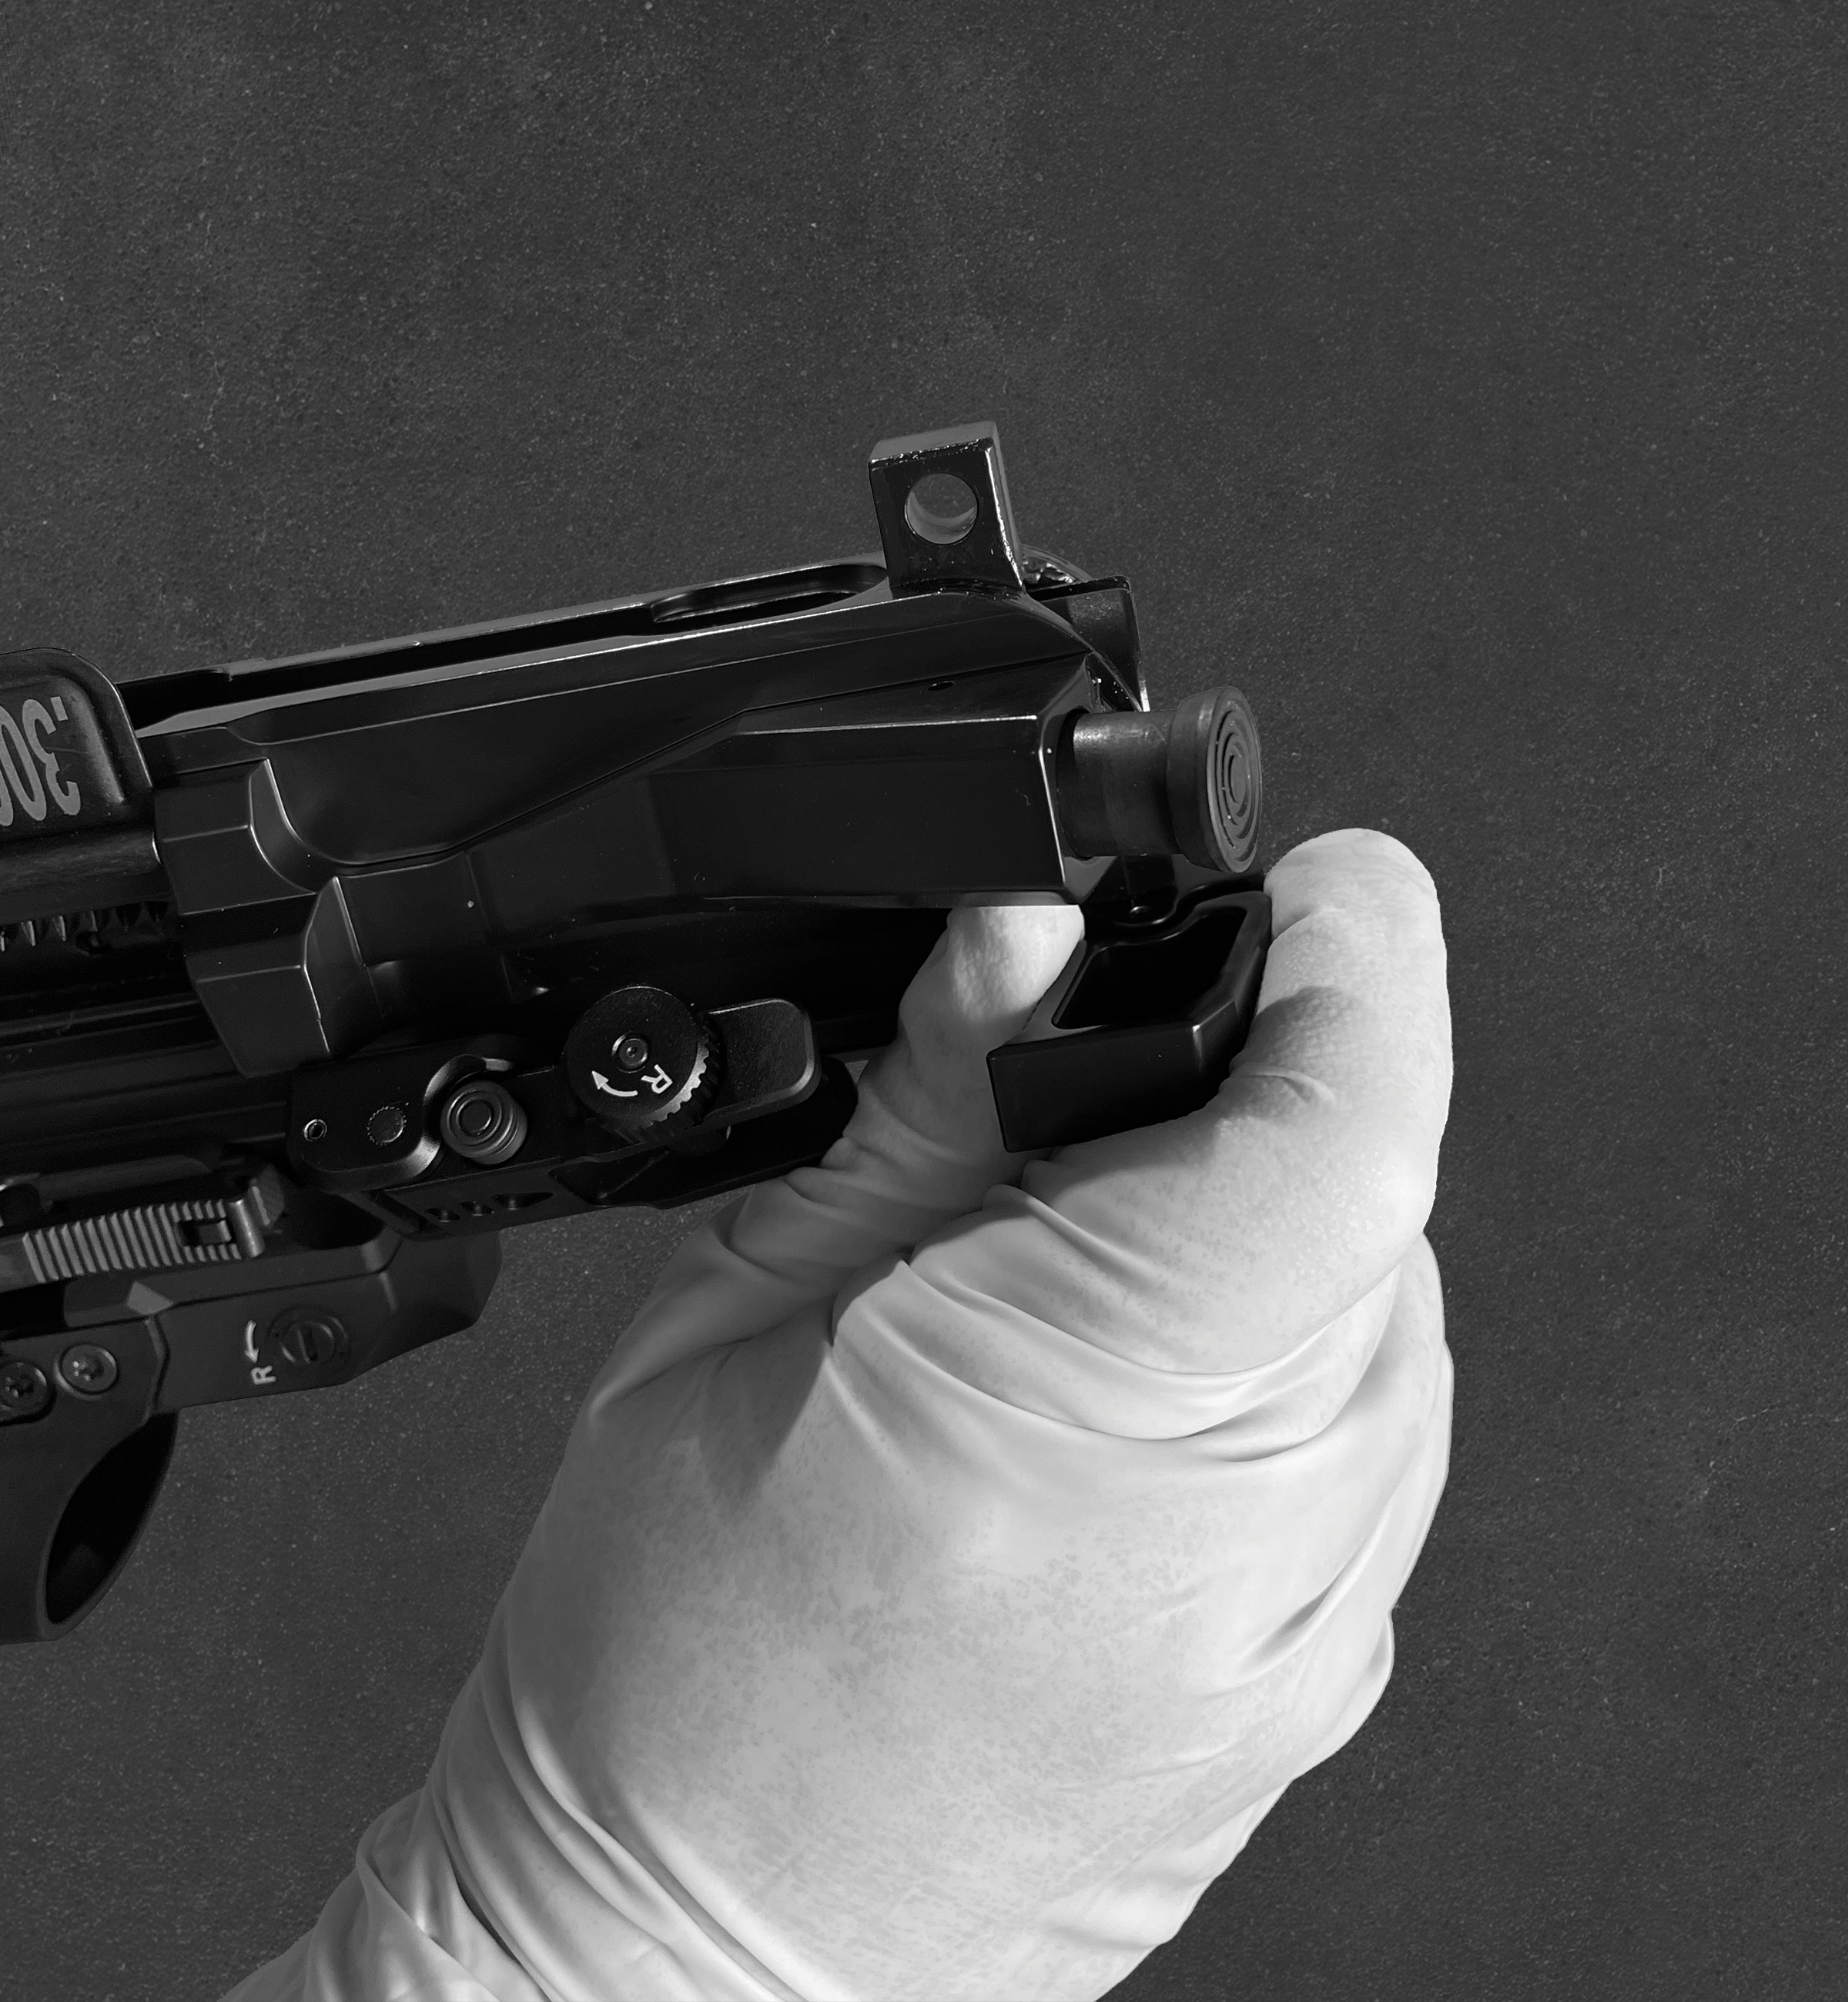
Hinge open your firearm by pushing out the rear takedown pin. Push on the smaller side of the takedown pin to push it almost completely out of the firearm.
-

step 2:
Get the tools needed to clean your AR-15
-

STEP 3:
Separate the upper receiver from the lower receiver. Push on the smaller side of the two takedown pins to push them almost completely out of the firearm.
-
STEP 4:
Remove the charging handle and bolt carrier group (BCG).
-

STEP 5:
Disassemble the BCG and the bolt.
-

STEP 6:
Remove the Buffer Assembly (buffer and buffer spring) from the buffer tube.
-

STEP 7:
-

STEP 8:
Clean the BCG.
-

STEP 9:
Description goes here -

STEP 10:
Clean the buffer assembly.
-

STEP 11:
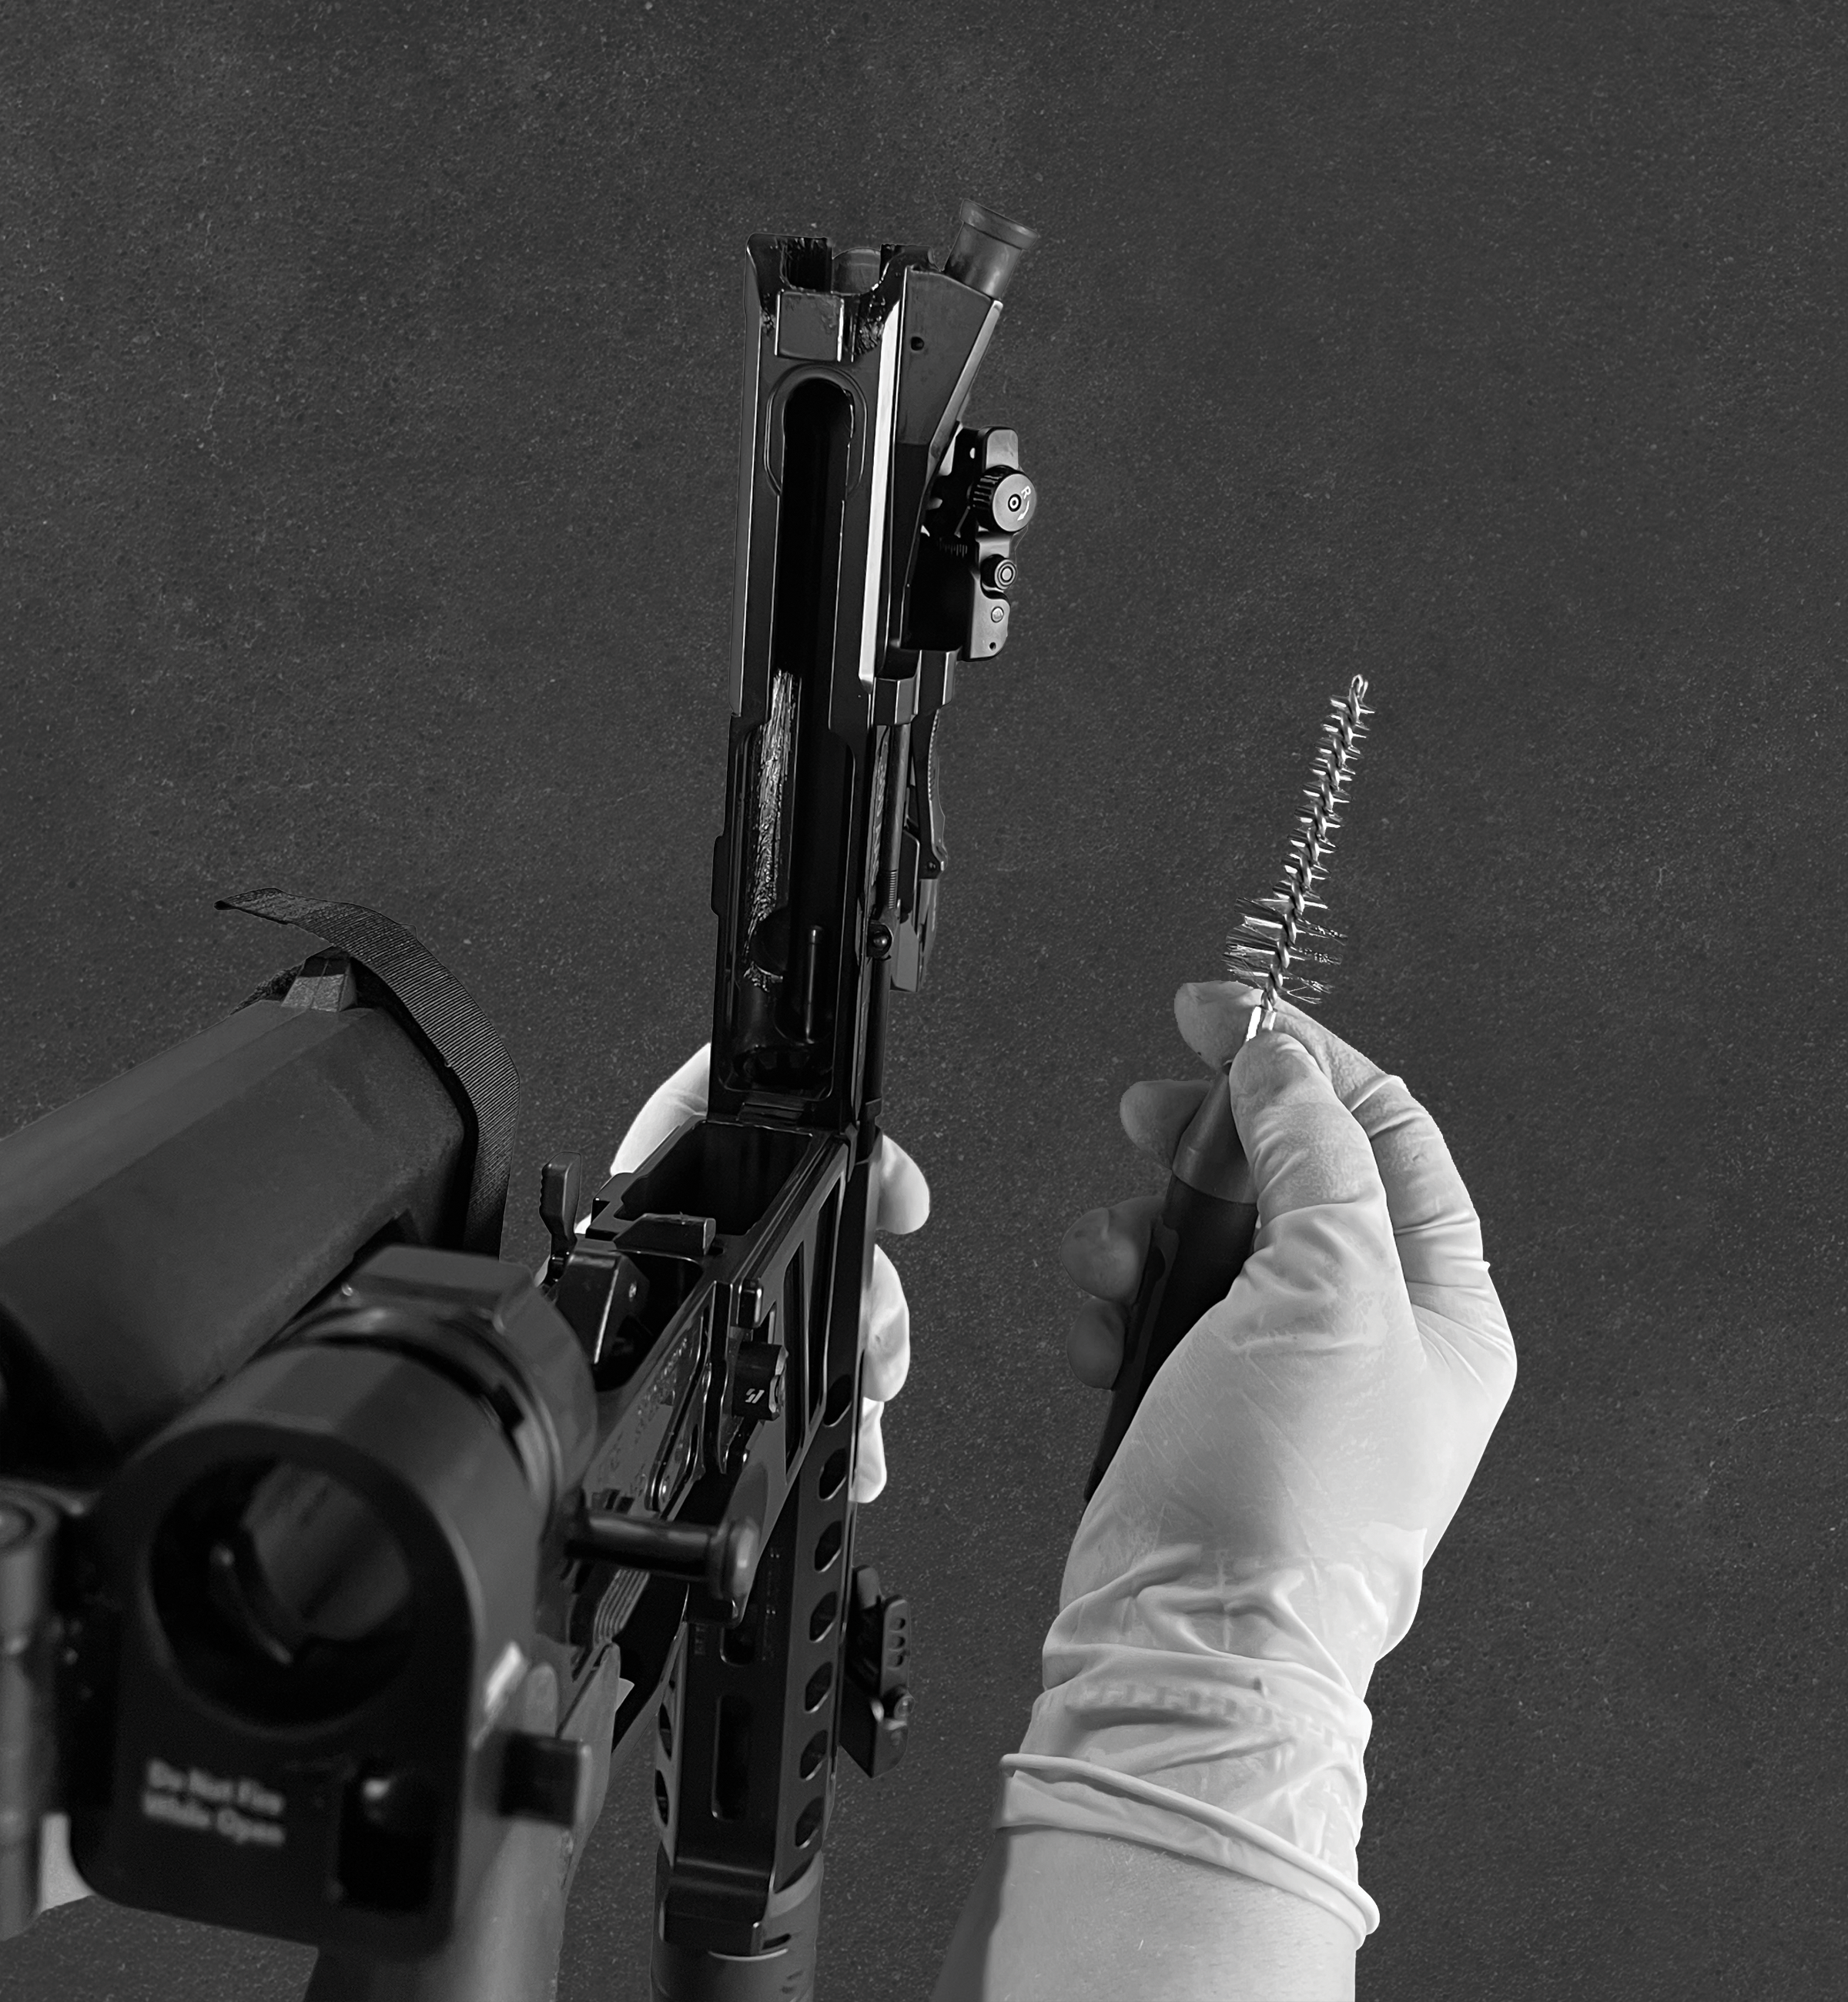
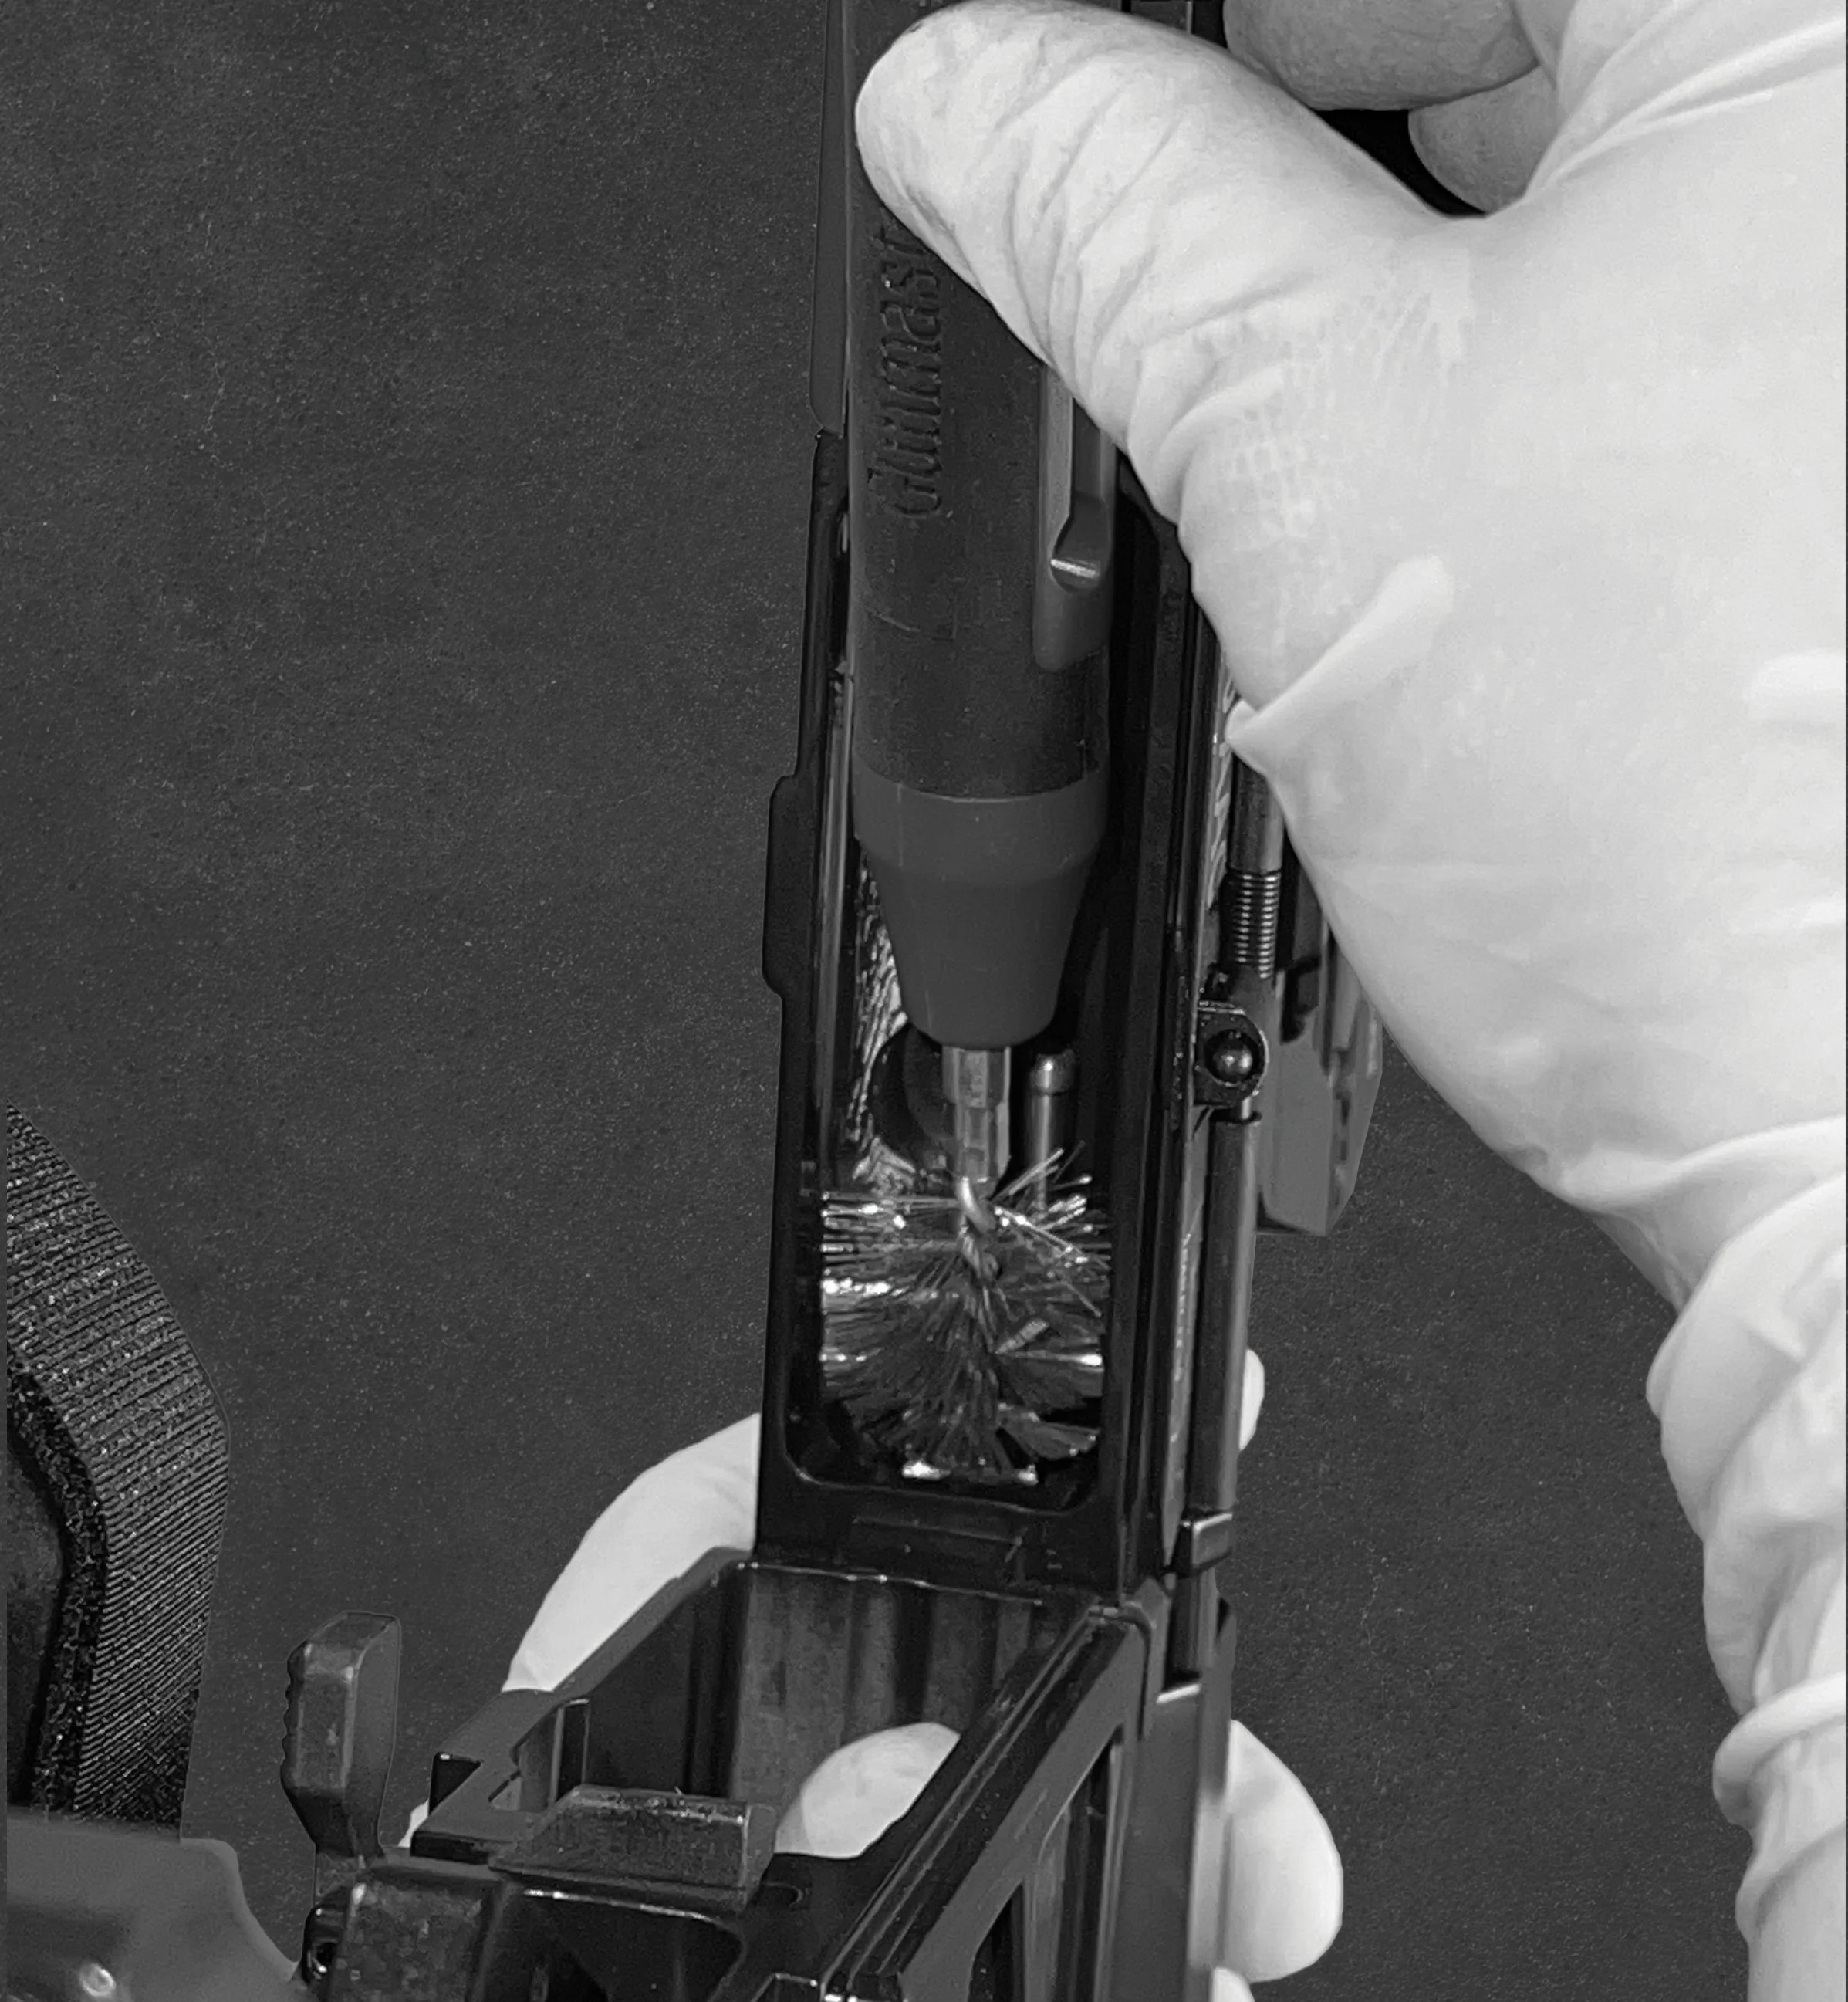
Clean the charging handle and upper receiver
-

STEP 12:
Clean the fire control group (FCG) and lower receiver
-
STEP 13:
Reassemble your firearm.
-
STEP 14:
Lubricate your firearm.
-

STEP 15:
Perform a function check.
-

STEP 16:
Prepare your bore snake
-

STEP 17:
Insert cleaning cloth into bore snake
-

STEP 18:
Insert bore snake into chamber and push it through
-

STEP 19:
Pull your bore snake completely through the chamber and barrel